Sunday, August 21, 2011

More ghetto goodness

We were on vacation last week, so I didn't do a thing. This weekend, I started to install the interior perimeter drain, rebuilt the half wall in the storage room, and did a bunch of cleanup.

Our plumber came while we were gone and started to install the new oil tank - we're pulling out the old underground one when we do the excavation for the exterior perimeter drain. Despite us asking him no fewer than three times where he wanted to install it, he never would say. When we came home, we found that he had moved my entire pile of various sheet goods, leftovers, old shelving, what have you. Then, apparently, the new tank wouldn't fit there, so he had to send it back.

Once the new tank is in, I'm going to remove the old underground tank. Stay tuned for more homebuilt gantry action.

This weekend's primary focus was to get the storage room put back together so we can sort of reclaim some of our life - the playroom is currently full of everything that used to live in the storage room.

Before we decided to rip the whole house apart, remove the deck and excavate the back yard, I had decided to try an interior perimeter drain first, as a much cheaper alternative to removing the deck and excavating. I got the parts from Squidgee Dry for about 400 bucks delivered. Basically, it's a plastic gutter that gets glued to the floor, and then drains into the existing sump. You glue the pieces together using a polyurethane adhesive that comes in a caulk tube, and glue the whole works to the floor. A sheet of plastic directs any water down the foundation wall into this gutter, where a bit of tubing leads it to the sump. I have the parts already, so I figured I'd install them in a sort of belt and suspenders approach.

First, I glued all the pieces down.  This was quick, painless (except for getting the caulk on my phone...) and easy.  The next part was to chisel out a bit of concrete so that the tubing from the drain was out of the way...

Safety first...  Concrete dust makes for some seriously crusty boogers. 


The rotary hammer made short work of cutting the channel:


Then it was just a matter of running the hose from the outlet:


into the sump, and patching up the concrete.  I'm probably overthinking this part, but I hate having crap on the floor that gets yanked on or tripped over or otherwise causing a hassle. 


I popped upstairs to find Steph working on the kitchen paint job:


She hasn't done a lot of painting, and she wasn't too thrilled with the task. 


Paint on the notebook...  Oops. 


Once I got the perimeter drain installed, it was time to rebuild the half wall.  If you have to get nails into concrete, you get to play with a Ramset.  If that word doesn't make you feel butch, I dunno what would.  Say it out loud.  See?  Don't you feel testosterone coursing through your veins?  It uses a .22 shell to drive nails.  Playing with explosives in the house, and not even getting in trouble for it.  What could be better?


RAM-frickin-SET!
Toolbelt and Ramset in a single shot - even Charles Bronson would give this the thumbs up. 


Then, a few carefully crafted tubaforz later, and I have myself a wall.  I had to notch the studs to clear the perimeter drain and the bit of wiring that was there, which took up a little time.  In retrospect, I did this kinda backwards - I should have just measured everything, then built the wall as one unit, then dropped it in.  It would have been faster than what I did, but it worked out OK in the end. 


Not bad for a total rookie:


Another area that I didn't properly think through - I should have leak-tested the perimeter drain before I built a wall over it, rather than after.  Luckily, with Naomi's help, I was able to leak-test everything, and it was watertight. 


Up next, it's insulation and wallboard, and we'll have our storage room back again, woohoo!

Sunday, July 24, 2011

Long time, no post!

Ghetto house update!

It's been a couple weeks since the last ghetto house update.  We took a couple weekends of R&R.  Here's what we've done recently.... 

The patio door is now in, and we've moved on to the drainage issues in the back of the house.  The remains of the deck foundation had to be removed, and gutter installation followed after that. 

Removal of the old deck foundation turned out to be a big PITA.  The old footings were sunk to 4 feet (and they still heaved up almost 18" in 5 years, yeesh!) and weigh close to 400 pounds each, so moving them by hand was pretty hard.  I ended up building a sort of gantry to pull them out. I bolted a come-along to a bunch of lumber: 


And a few (thousand) clicks later, the footing is out.


Repeat 10 times for a pile of concrete marshmallows.


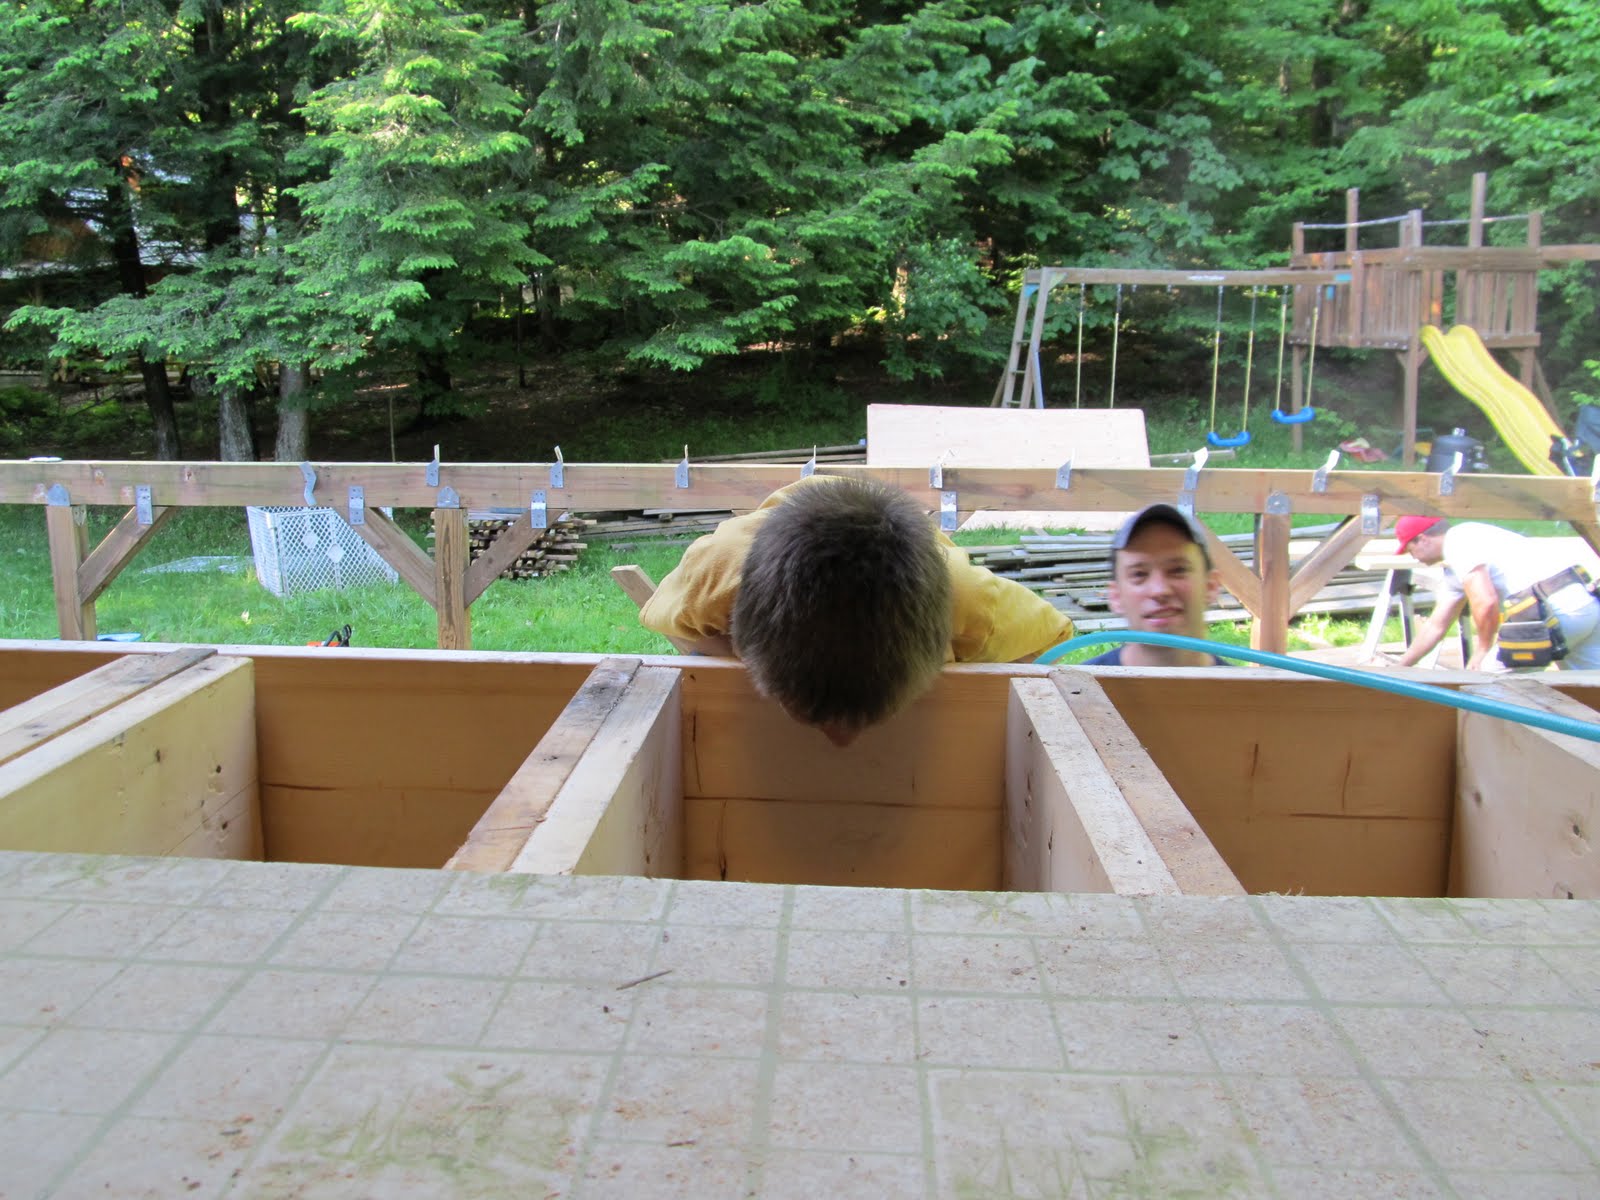
Naomi showed up and wanted to know what I was up to.  I explained about water, drainage, gutters, and so on, but what really fascinated her were the holes left over from the deck footings.  She wanted to know how deep they were in relation to her height, and what would happen if she fell in.  I'm a firm believer in empirical learning, so into the hole she went.  It turns out that her hips got stuck before her feet touched down.


I got Eddie to dismantle the original thisghettohouse.com door - the kid loves to play with power tools.


The big project for this weekend was to install gutters. I bought the stuff yesterday, which turned out to be a huge project - retail therapy is complicated. Once again, the Subaru kicked ass - I strapped the new ladder to the roof rack and then bungeed all of the long gutter parts (sixteen foot sections) to the ladder. It wasn't pretty, but it got the stuff home. I kept thinking I was gonna get a gust of wind and the gutter parts would get folded in half.


I tried to do as much as possible from the ground. I made a couple thousand trips up and down the ladder, so I guess I was sorta successful. Two ladders (and two people) would have made this a lot easier.


I realized that I couldn't put the ladder against the fascia board, cause I was going to be screwing stuff to the fascia board. They make things that'll solve this problem, but I didn't want to kick down sixty bucks (and drive back into town) for one of these, so I racked my brain for some way of pushing the ladder back off the house.  Inspiration (cheapness?) struck, and I cobbled together this thing out of bungee, milk cartons and ratchet straps...


Yeah, this looks safe...


The view from "up".


Self portrait from milk crates atop a ladder...


At the end of the day, the ghetto house now has gutters again! Up next, the new oil tank, removal of the old tank, and fun with excavators. Stay tuned!

Monday, June 27, 2011

A tarpaper shack...

Things have slowed down quite a bit since the initial frenzy, and now we're actually moving forward with some kind of plan. Our plan at this point is to finish up the back door get the house sewn up temporarily, and then make a decision about siding.  Once we've made the siding decision, we'll have a "let's tear off more of the house!" day again, and then a siding day (or six) after that.  That said, we did get some stuff done this weekend...

I finally managed to get the tar paper up to cover the sheathing:


I found out a couple things about tar paper that I didn't know.  The first is that it's surprisingly brittle - it looks like it should behave like paper, but it will actually crack if you handle it wrong.  The second is that the stuff stinks.  It smells horrible! 

Hanging big chunks of tar paper by yourself can be a bit of an adventure.  Down low, it wasn't hard to do.  I just had to unroll a suitable length, cut it and tack it up.  Once I was higher up, it got to be a real drag.  The procedure is as follows:

1.  Measure length of area to be covered
2.  Unroll and cut tar paper to lenght
3.  Move ladder to end of area to be covered
4.  Climb ladder with tar paper
5.  Reach for hammer tacker in toolbelt
6.  Drop hammer tacker from top of ladder
7.  Climb down, retrieve hammer tacker
8.  Climb back up
9.  Tack one end of tar paper
10.  Climb down, move ladder
11.  Tar paper falls off
12.  Curse bitterly (repeat this step often)
13.  Replace tar paper
14.  Move to other end
15.  Tack up that end
16.  Nail up tar paper

A hammer tacker is a fun tool - it's a cross between a stapler and hammer.  Basically it's a stapler operates on the force of your swing rather than the force of a built in leaf spring. 


It'll happily drive staples into plywood, where my basic staple gun failed miserably.  It's also pretty ruggedly constructed - the back of it makes a handy hammer for driving home any staple that a feeble initial hit didn't sink.  The only problem with it is that it doesn't fit nicely into my tool belt.  It's a solid chunk of metal, and it has a tendency to tumble out of the pocket at inopportune moments.  I'm guessing a dedicated holster would be the way to go. 

I ended up securing the tar paper with cap nails.  These are basically just little nails with big plastic heads attached - they hold the paper more securely than a regular roofing nail.  The research that I did indicated that if the tar paper is going to be exposed for a while, that these would probably be a safer bet. 


Note the wreckage that is our backyard in the background...

The other nice thing about the cap nails is that there's a very clear visual indication of the location of the studs, which'll come in handy when we're putting up the siding.

The inside is starting to come back together, too.  The old door was made by Peachtree, and was an odd size - a little wider and a little shorter than a "standard" door.  When we installed it, we tightened up the rough opening with a 2x4 and a half-inch plywood strip on each side to bring it in to the dimensions required by our new door.  This left a big chunk of exposed framing on either side.  I had originally thought to just cover it all with trim, but in the end I decided to cover it with wallboard. 


My mudding and taping skills are pretty weak, but in the end it'll be fine. 

While we were waiting for the first layer of mud to dry, the kids and I reinstalled the floor grate.  This allows heat from the wood stove to reach the upstairs, where it was then promptly released to the outside by our old door.  Hopefully this door does a better job.  It's interesting - it's impossible to get kids interested in eating vegetables or cleaning their room, but if you tell them they can cut a big hole in the floor, they can't wait to help. 

My coworkers:


First, we drilled holes in the corners:


Then we connected the dots with the jigsaw:


Done!


Nailing up a bit of blocking under the sill:


 Naomi was struggling with the nailer - it weighs about half of what she weighs. 


All in all, a reasonably productive weekend.  Next weekend, I'm hoping to get the interior of the door trimmed up, and then start on backyard cleanup. 

Tuesday, June 21, 2011

Let's take the back of the house off!

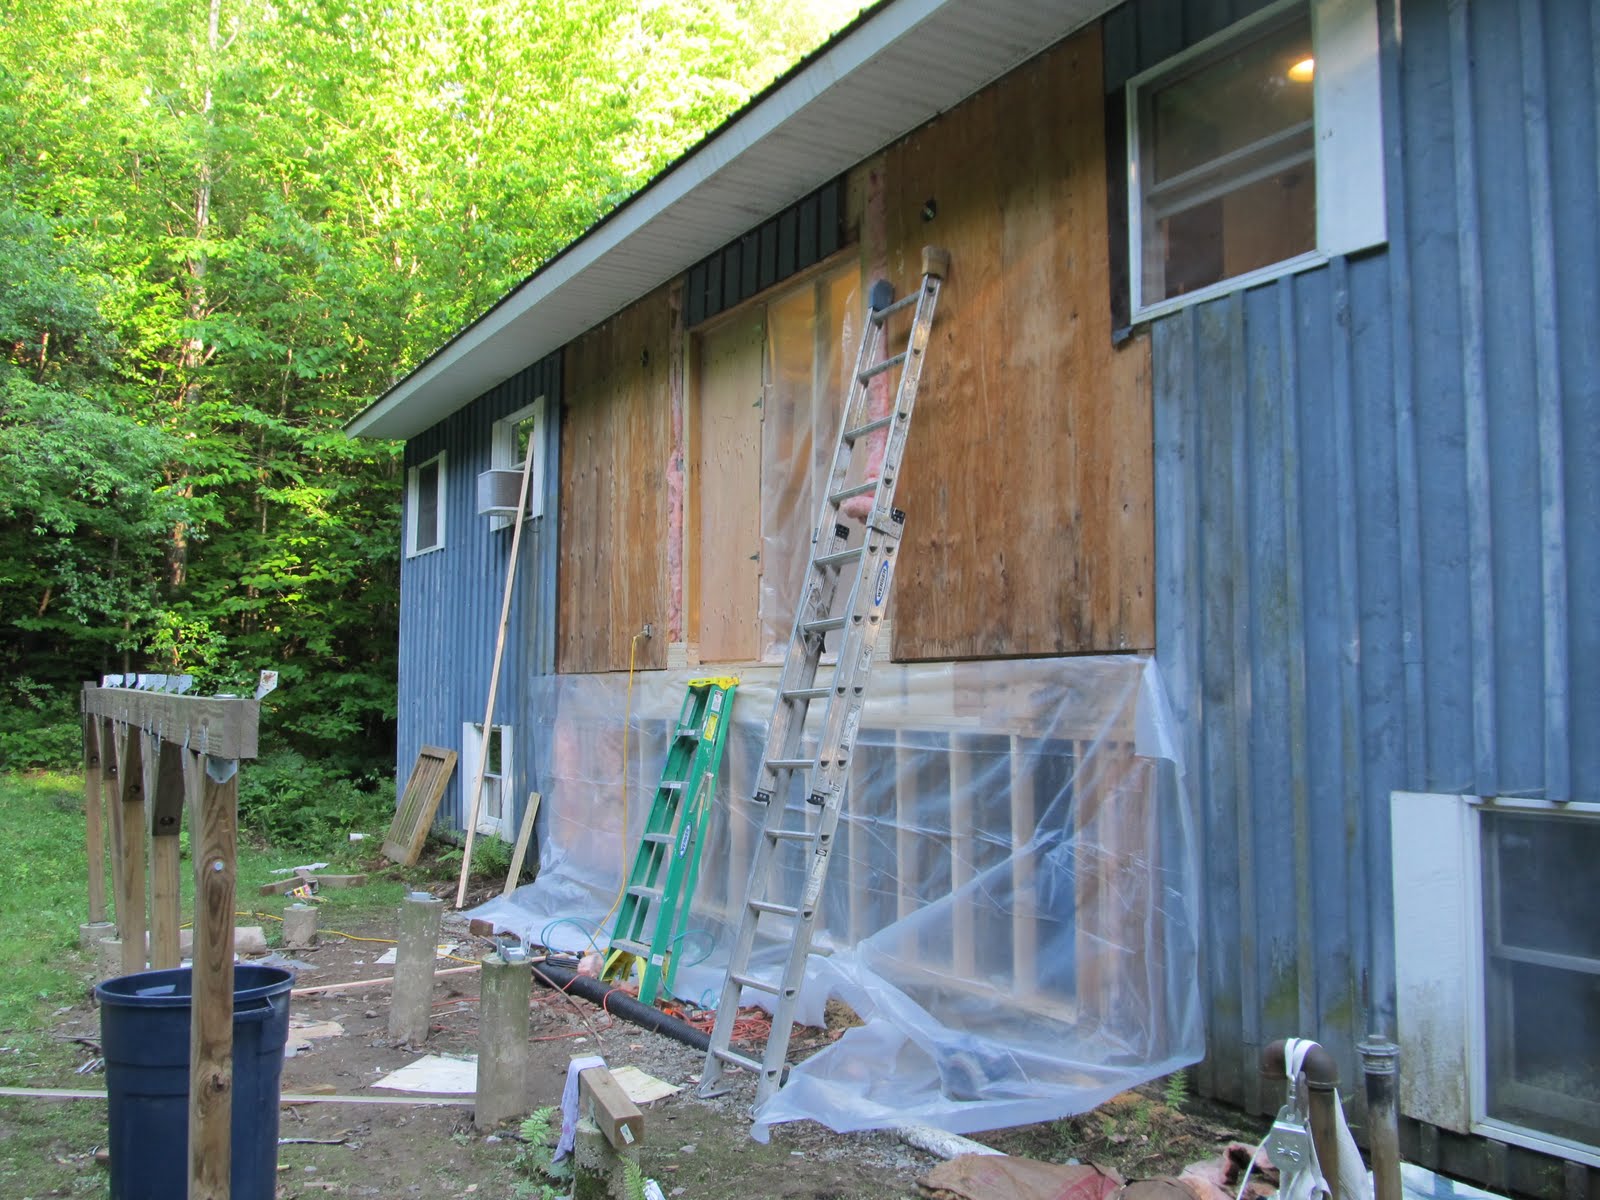
So we removed the back of the house today.  We managed to get it back up, too!  It's funny what you can accomplish when you start by knocking out a 20 foot section of wall.  Once you've committed at that level, you can pretty quickly decide to get in the rebuilding game. 

We got hit with a very short, but very intense rain/hail storm right in the middle of the workday.  This flooded the backyard in about 5 minutes, and left 2 inches of standing water.  This pretty quickly pointed out the obvious source of the basement water problem, which we'll be resolving in phase 2 of the construction process. 


Think that might be a problem?

The basic premise of the weekend adventures was: 

a) build a temporary wall underneath the rotten section
b) remove the rotten section
c) replace rotten section
d) remove temporary wall

Despite a minor problem with the measurements, the temporary wall went in smoothly enough:


Removal was easy - all we did was sawzall out the old wall.   This went great until Jim sawed through the pipe for the heating system.  He took it in stride, cause he's used to this sorta thing, but I got all freaked out.


Here's the water drippin' out of the heating system while Jim tries to hide the sawzall...


I'll get it patched up soon enough but I hate doing plumbing. Then we had to remove all the rotten sheathing around the door - I got to do this cut, and there's nothing like climbing a wobbly ladder to make a weird one-handed cut with a skilsaw 15 feet off the ground right next to a hot junction box with exposed wires. Remember, kids, safety first.

Do try this at home!  It's fun!
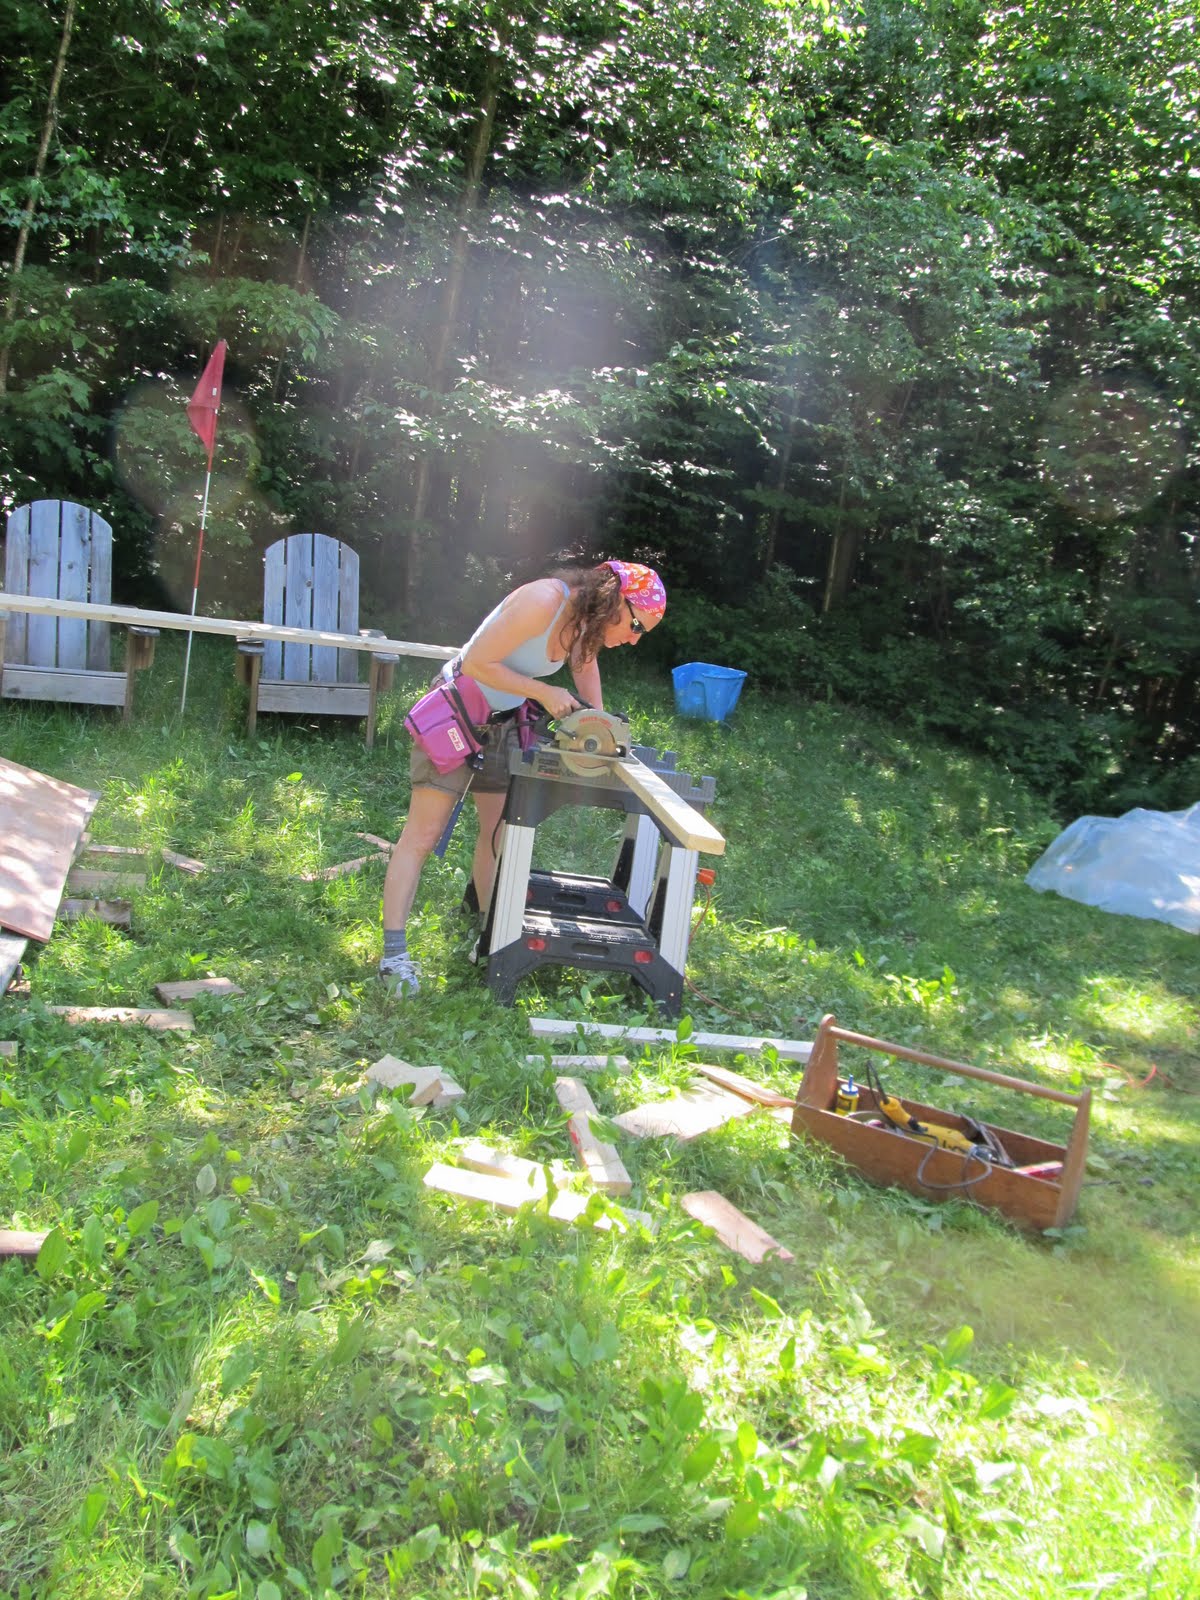
Then we framed up the new wall and installed it.  Jim did most of the framing work cause he's the framing ninja.  Somebody screwed up somewhere, though, because it didn't fit by a bit, so we took it out and ripped a little off the edge.


And Steph was kind enough to install it for us.


Then we removed the floor in the kitchen.   Cut it up into chunks,


and pull out the chunks:


Then we cut and fit new floor. The old floor was a double layer of 1/2 inch plywood rather than a single layer of 3/4. I'm not sure what the idea was there. Once we got the first layer in, we glued the two layers together to prevent squeaking. We got Domenick to pitch in here (couldn't keep him away, actually):


Somebody (Jeff and Jaycie, maybe?) threw together this awesome feed while we were working...


As it turned out, the door we bought wasn't quite what Jim was expecting.  As he put it, "It goes in like a window and not a door."  I didn't grasp what he meant, until he explained that a typical door goes in without a lot of concern about the sheathing, but a window goes in and is nailed to the sheathing.  This meant, basically, that until the sheathing was done, we wouldn't be able to install the door, and it was getting late enough that we weren't going to have time to finish the sheathing that day.  So, the ghetto door had to go back in until we could get the sheathing installed. 

This looks strangely familiar...

A bit of plastic to keep the bigger bugs out...


Day 2.  It was just the two of us for most of the day.  We got up and set to sheathing and such....

Steph puttin' her birthday toolbelt and glasses to good use


Once we had the sheathing done, we stopped for lunch.  As I was walking around eating my sandwich, I wandered away from the house a bit.  When I turned around, I realized that we'd actually removed and replaced a pretty big section of house!  When I was standing right next it, it didn't seem that big, but the distance lent a little perspective:


Then we switched places so Steph could enjoy the view too. 


The next task was to flash the opening.  Instead of using flashing tape, Pete suggested we use snow and ice shield.  This stuff is apparently a pain to work with - the adhesive is very sticky.  I think he described the product as "bituthene", but my brain heard it as "Bitch-o-thane" which I assumed was a reference to the difficulties of working with something so sticky.  I'm still not sure which he said, but I'll forever think of this stuff as "Bitchothane®".  Once we had that done, we were ready to install the door.  Steph didn't think she could manage the door and the ladder climb, so we made a couple phone calls and waited for help to arrive. 


We didn't get any pics of the door actually going in, but it went into the rough opening with very little trouble.  (Thanks, Dave!)  I tacked it all in, and now we have a door! 

There's still a bit of shimming to be done, and the back of the house needs to be sided, and a million other little things, but we've got a door!  It even opens and closes.  I'm totally pumped.