We got hit with a very short, but very intense rain/hail storm right in the middle of the workday. This flooded the backyard in about 5 minutes, and left 2 inches of standing water. This pretty quickly pointed out the obvious source of the basement water problem, which we'll be resolving in phase 2 of the construction process.
 |
| Think that might be a problem? |
The basic premise of the weekend adventures was:
a) build a temporary wall underneath the rotten section
b) remove the rotten section
c) replace rotten section
d) remove temporary wall
Despite a minor problem with the measurements, the temporary wall went in smoothly enough:


Removal was easy - all we did was sawzall out the old wall. This went great until Jim sawed through the pipe for the heating system. He took it in stride, cause he's used to this sorta thing, but I got all freaked out.
 |
| Here's the water drippin' out of the heating system while Jim tries to hide the sawzall... |
I'll get it patched up soon enough but I hate doing plumbing. Then we had to remove all the rotten sheathing around the door - I got to do this cut, and there's nothing like climbing a wobbly ladder to make a weird one-handed cut with a skilsaw 15 feet off the ground right next to a hot junction box with exposed wires. Remember, kids, safety first.
 |
| Do try this at home! It's fun! |
Then we framed up the new wall and installed it. Jim did most of the framing work cause he's the framing ninja. Somebody screwed up somewhere, though, because it didn't fit by a bit, so we took it out and ripped a little off the edge.

And Steph was kind enough to install it for us.

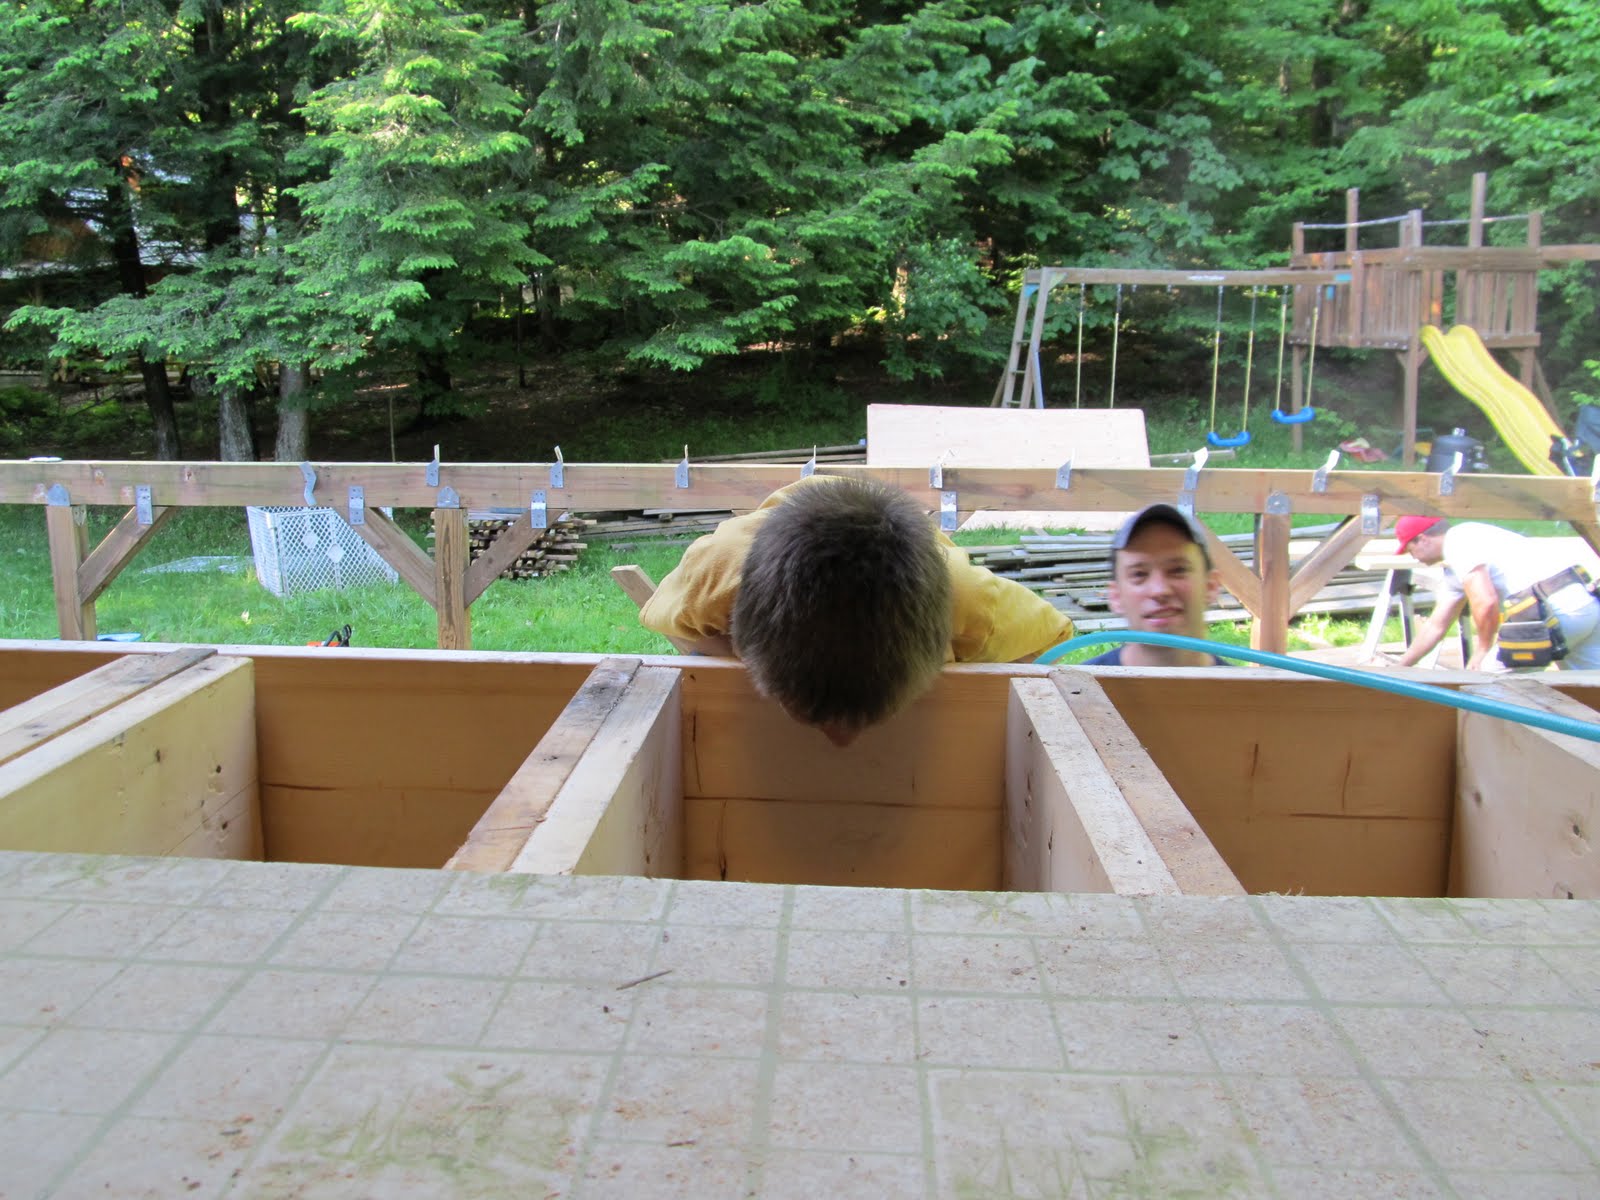
Then we removed the floor in the kitchen. Cut it up into chunks,

and pull out the chunks:

Then we cut and fit new floor. The old floor was a double layer of 1/2 inch plywood rather than a single layer of 3/4. I'm not sure what the idea was there. Once we got the first layer in, we glued the two layers together to prevent squeaking. We got Domenick to pitch in here (couldn't keep him away, actually):

Somebody (Jeff and Jaycie, maybe?) threw together this awesome feed while we were working...

As it turned out, the door we bought wasn't quite what Jim was expecting. As he put it, "It goes in like a window and not a door." I didn't grasp what he meant, until he explained that a typical door goes in without a lot of concern about the sheathing, but a window goes in and is nailed to the sheathing. This meant, basically, that until the sheathing was done, we wouldn't be able to install the door, and it was getting late enough that we weren't going to have time to finish the sheathing that day. So, the ghetto door had to go back in until we could get the sheathing installed.
 |
| This looks strangely familiar... |
A bit of plastic to keep the bigger bugs out...
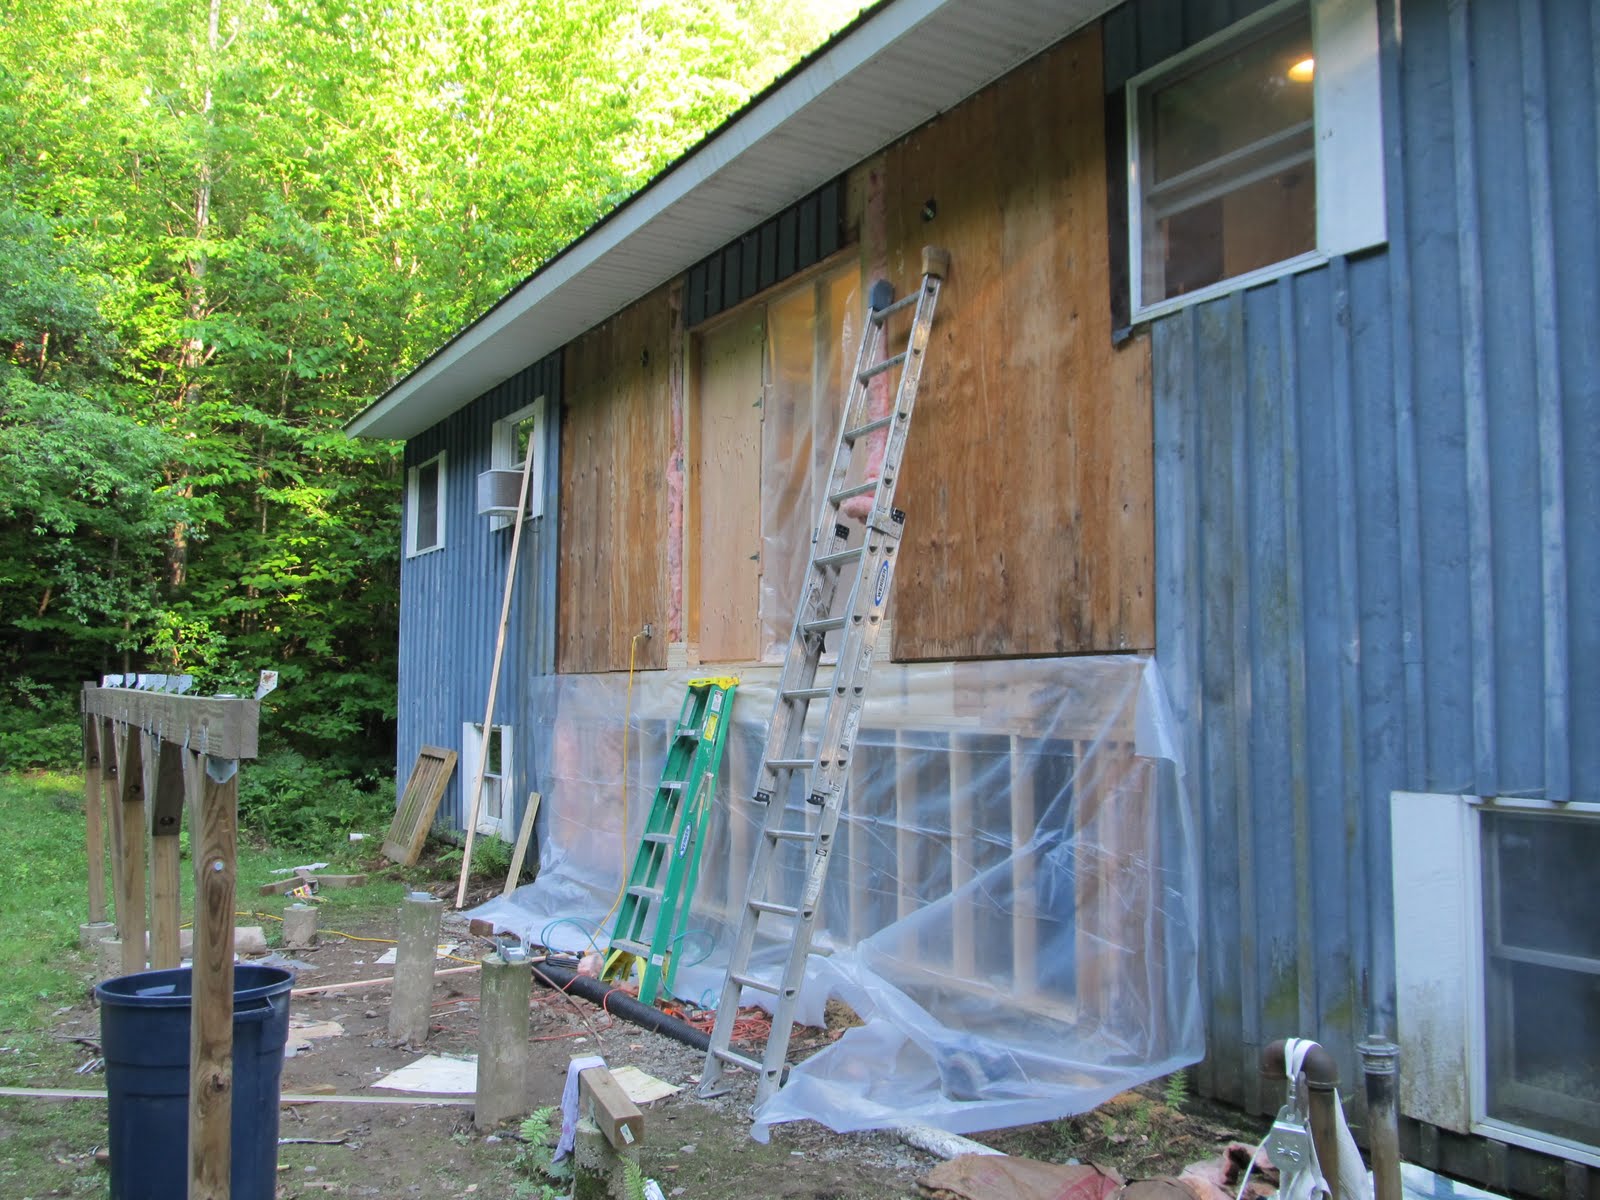
Day 2. It was just the two of us for most of the day. We got up and set to sheathing and such....
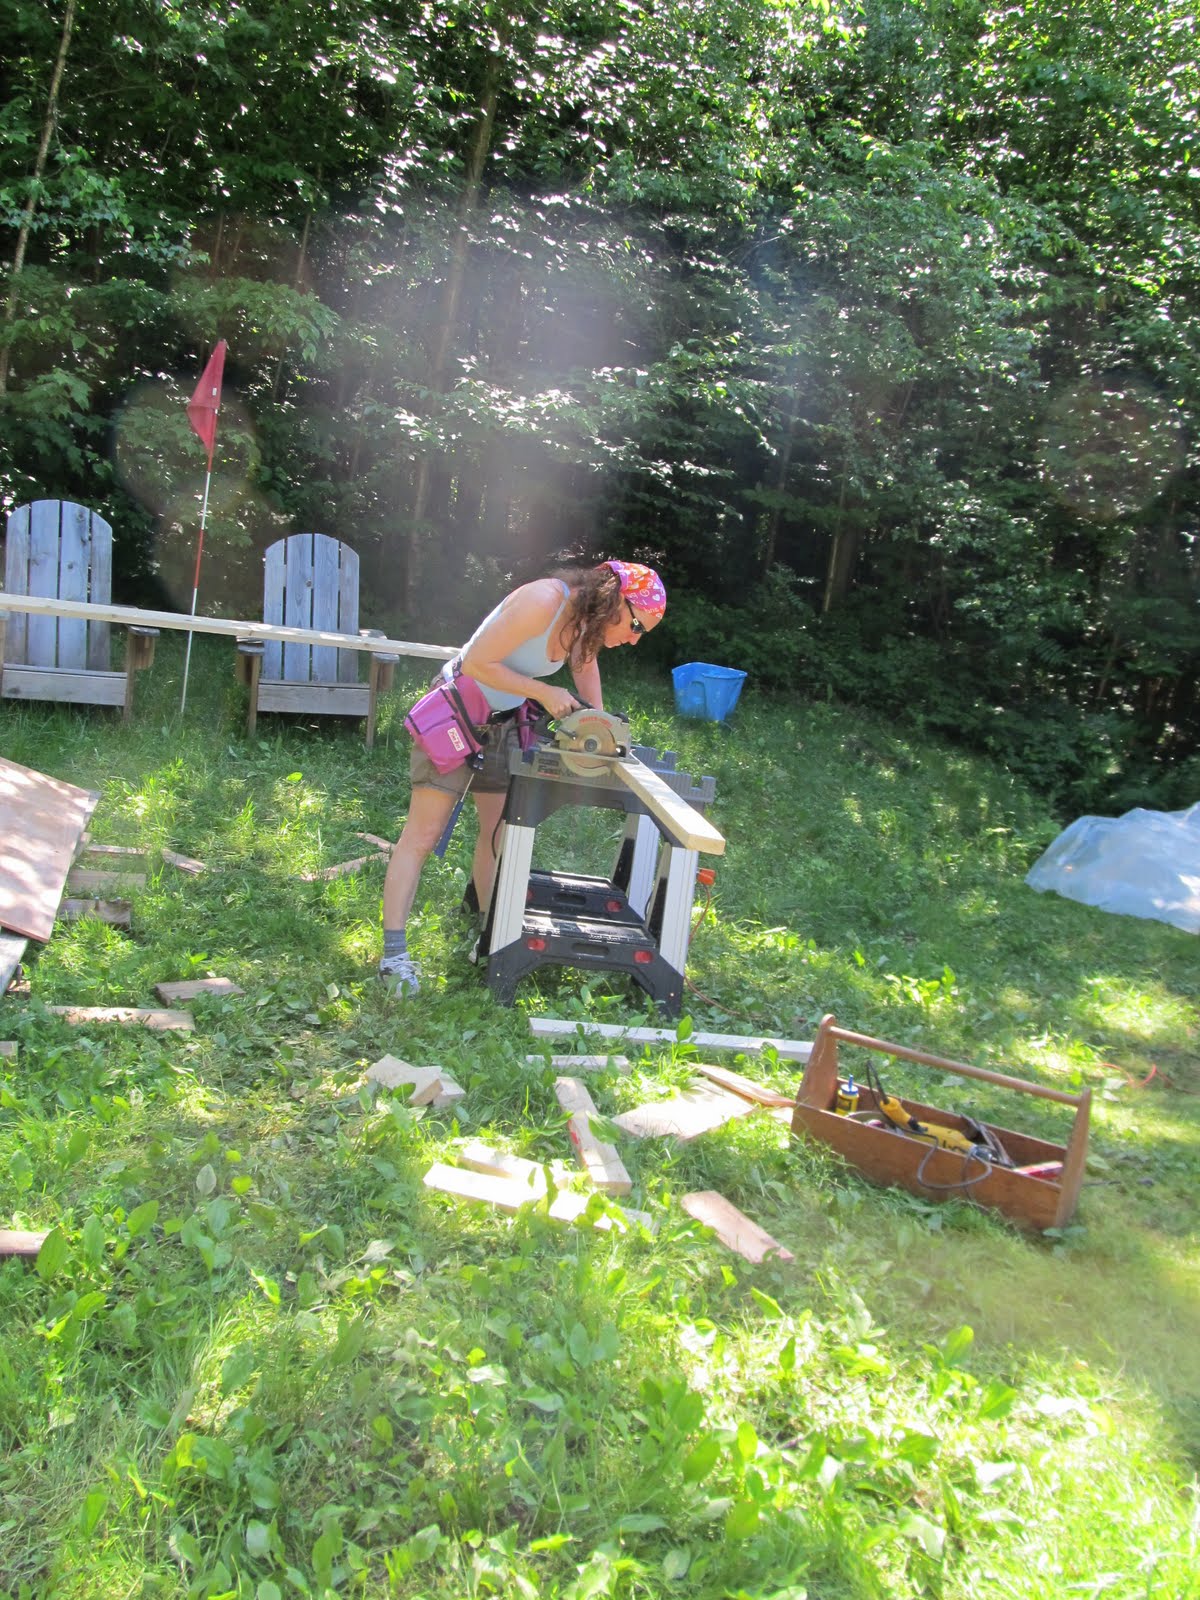 |
| Steph puttin' her birthday toolbelt and glasses to good use |

Once we had the sheathing done, we stopped for lunch. As I was walking around eating my sandwich, I wandered away from the house a bit. When I turned around, I realized that we'd actually removed and replaced a pretty big section of house! When I was standing right next it, it didn't seem that big, but the distance lent a little perspective:

Then we switched places so Steph could enjoy the view too.

The next task was to flash the opening. Instead of using flashing tape, Pete suggested we use snow and ice shield. This stuff is apparently a pain to work with - the adhesive is very sticky. I think he described the product as "bituthene", but my brain heard it as "Bitch-o-thane" which I assumed was a reference to the difficulties of working with something so sticky. I'm still not sure which he said, but I'll forever think of this stuff as "Bitchothane®". Once we had that done, we were ready to install the door. Steph didn't think she could manage the door and the ladder climb, so we made a couple phone calls and waited for help to arrive.

We didn't get any pics of the door actually going in, but it went into the rough opening with very little trouble. (Thanks, Dave!) I tacked it all in, and now we have a door!
